Got 2k? Start Here!
Alright alright, you wanna build your truck. Of course you do, we all do! Remember, most of what I'm recommending is all stuff you should be doing after you've made sure you're all caught up with maintenance. A brand new lift kit isn't gonna fix those 300k-mile lower ball joints! But once you're truck is ready for a little switch up this is where you should start!
Starting off strong here, we all want more lights, but that engine bay is gonna get crammed with all those fuse taps and relays pretty quickly. I highly recommend starting off with a solid switch panel. This (https://amzn.to/4f0cBOH) Auxbeam 8 gang fits perfectly over your interior fuse cover or in the storage section underneath the headunit. As far as wiring it up to your car, it's super easy, just run the negative straight to the negative terminal on the battery and wire in the positive the same way, but don't forget that 60A fuse. If you don't plan on adding a whole bunch of exterior lights I recommend the 6 gang option but its better to have too many options then too little. This also saves you the headache of running multiple wires through the firewall. Once you run the single wire for the switch panel controller through the firewall that's all you'll need to run for those 8 or 6 controls. Keeps things easy cause the firewall grommet can be a pain!
Once you've got that first mod all wired in and ready to go, you're gonna need some lights first thing. My recommendation on lights is the same as you saw on the home page. You can spec those lights to be amber or white and also choose the light pattern, between flood and spot. Running ditch lights specifically, I'd lean towards choosing the spot pattern only because the flood lights tend to bounce more light off the hood of your car. The "spot" lights will give you good visibility around corners and off the side of your car. As far as mounting these lights, you can opt for buying ditch light brackets, which cost around 50 bucks. But just for starting out, I'd recommend mounting them to the inside section of your lower bumper valence. I ran lights like this for a few months and it was great placement for a spot pattern. Take a look at these lights here -> (https://amzn.to/453Z6Ju )
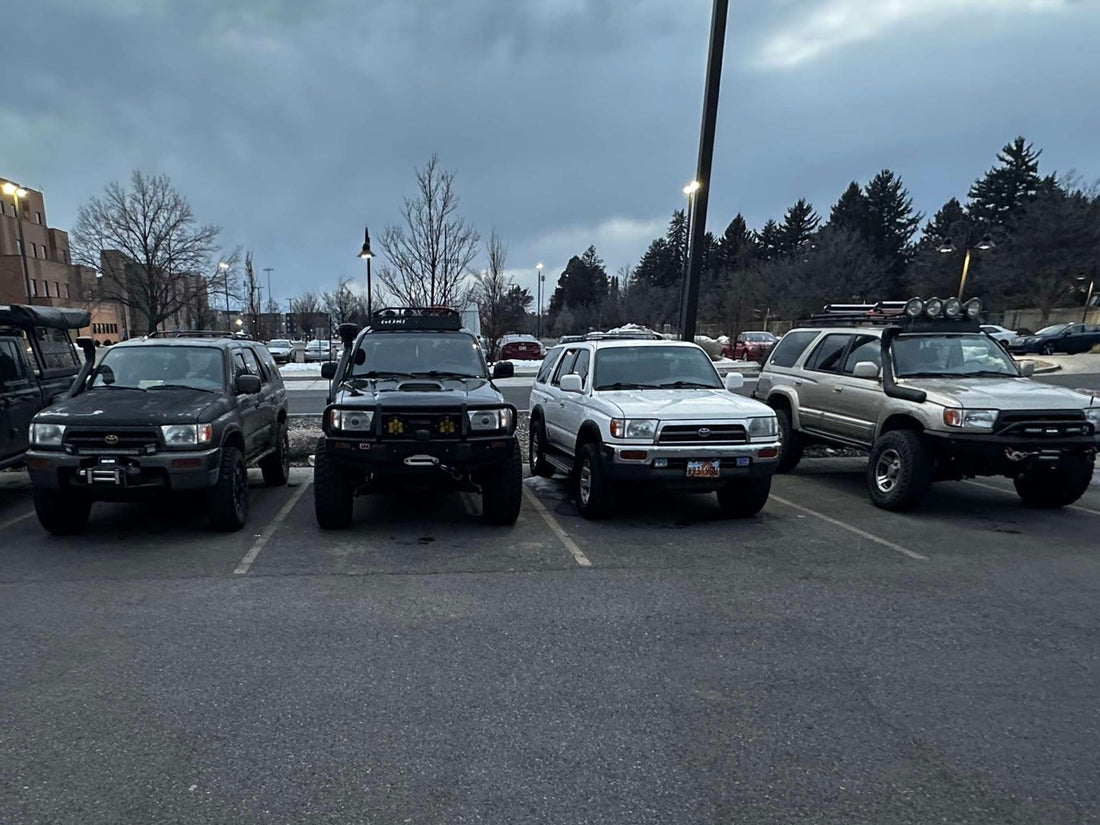
Moving onto suspension, this is a good second step for someone looking to gain more clearance for tires and just improve the overall looms of the vehicle. Now take this suspension with a grain of salt, as it is a very budget-friendly option. Ive heard good things and bad things about the ride quality/build quality. But for a lift kit in the budget realm, there is no better option than the Rough Country N3 lift kit. ( https://amzn.to/44SkdQ9) This is a true front and rear lift kit that isn't just a leveling kit that stacks pucks on top of the stock struts, so it's a better ride then that and will give you more flex than a puck-style lift. The one thing this lift kit is missing is an aftermarket UCA to adjust the camber that is gained with the longer strut. The lower control arm cam bolts don't have enough range of motion to adjust for the lift, so with these upper control arms it adjusts the camber enough to allow to cam bolts to be adjusted correctly. I've had good luck with these uppers (https://amzn.to/4kVLgyz) over the past few years but planning on upgrading down the road to JBA.
To go along with that lift the next big thing that will completely transform your look. I can speak on the fact that it will take a little trimming to stuff a 285/75R16 tire in the front wheel well to avoid rubbing. Also, the OEM rear bumper will take a little trimming to clear the tires at full compression. Ebay is home to a lot of really cheap tires, so for this level of build, that's just about the only thing within this price range. Getting a set of mud tires for sub ~700 and all-terrains for ~600. Ill throw a few links to eBay for those tires here but they are constantly changing, and for a trim-free option, I recommend running a 265/75R16. That's the current tire size I'm choosing for the run, and they tuck nicely into the wheel well while being slightly oversized. (285/75R16 MT) (285/75r16 AT) Another very very important thing to note is that you will need to run wheel spacers when using OEM wheels and bigger tires. This is due to the fact that the upper control arm and spindle will rub on the inner sidewall of the tire and cut into the tire. This doesn't happen with every OEM wheel but every truck I have ran OEM wheels on I have had to install wheel spacers. I recommend these (https://amzn.to/44FJs86)
Now, from here there is a little bit of money left to play with, but remember at the very end you'll need an alignment with those UCAS and lift kit. That'll run about 100-200 depending on where you go. With this little extra money left you can pick up some SRQ fab ditch light brackets so you've got a solid place to mount the pod lights from earlier. Another option is installing an aftermarket headunit to add to the interior upgrades. These range in price exponentially; finding a fast and responsive one under 200 dollars is tough. The really budget ones tend to glitch and bug out pretty frequently. While this might put you over budget I say wait till you can afford a decent one to make it an enjoyable uder experience. This Boss headunit tends to be fast, responsive, and backed by a reputable company. (https://amzn.to/4kW9wAR). Dont forget to pick up the wiring kit for a double din radio off of rock auto.
Well! Were just about out of money here so I hope yall enjoyed the first "build" I recommended for yall. I hope to do plenty more here in the near future at different price points and use cases. Dont forget my Instagram is up and running so if you have an custom build requests or part recommendations, hit me up! See yall next time and happy wheeling!